After talking him into skipping on the Mexican workers and just getting a couple good buddies together with a case of beer and putting it up ourselves... A wonderful looking fence was constructed and saved him 1300 dollars! (I just wish we hadn't done it on a day where the heat index was 112) Anyway there were slats of the fence that had to be trimmed to fit perfectly. There were scrap 2x4 boards that were cut short for the stringers.. All of these are pressure and chemically treated for weather resistance. Since they were cut could not be returned to the store and were going to be thrown away.
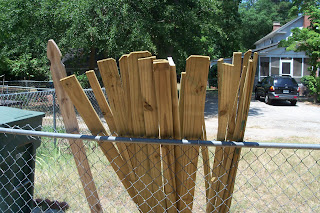
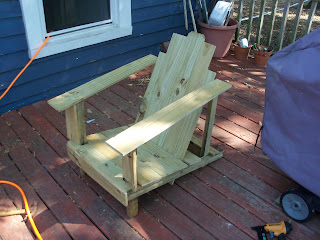
I wanted something that looked good and would be useful for a while.
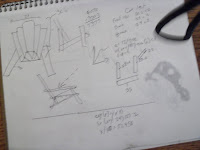
Like most of my projects. They all start with a sketch and my little pocket ref book.
First the legs and supports. These are made of really dense support beams that originally were used to carry support the pallets of wood. Super tough! I wanted to never worry about them
cracking and breaking under the weight of a guest. They are really simple. One is slightly higher than the other so that when you rest your ams they are tiled forward. You just have to make one set then make the mirror image with the opposite set.
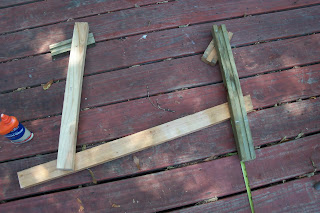
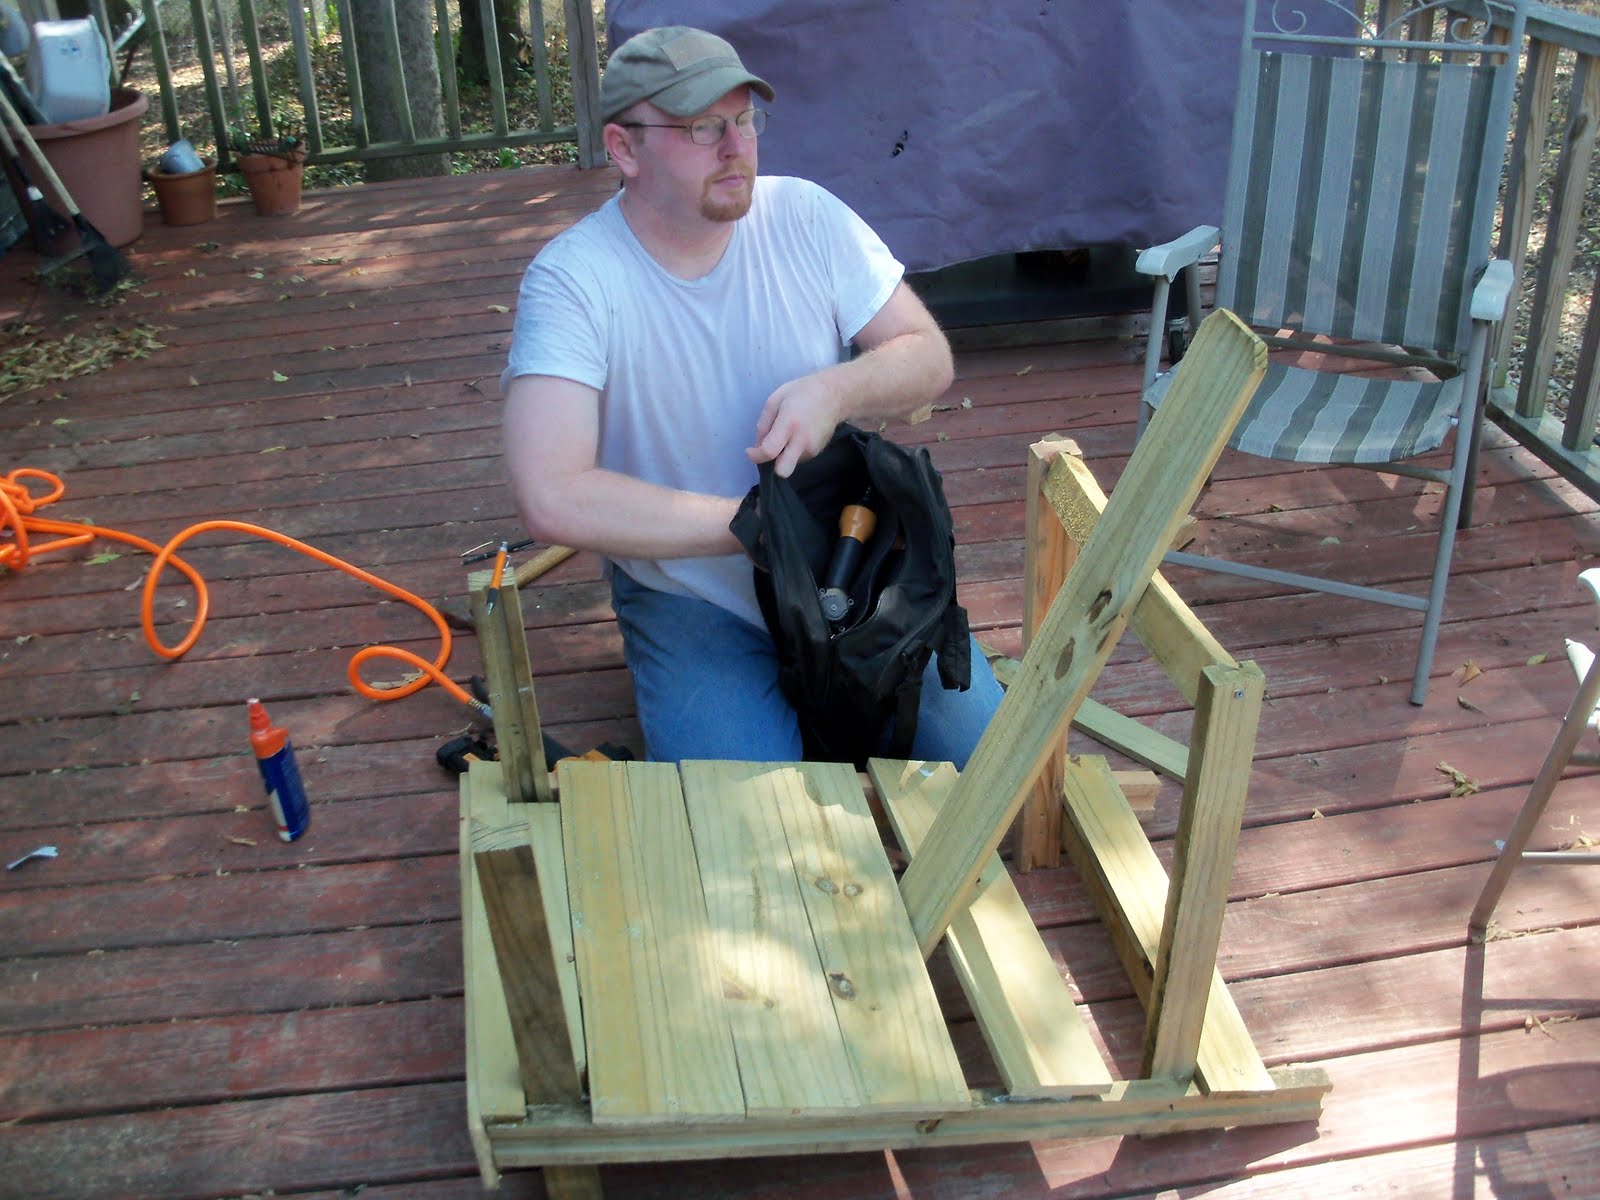
Next you just have to attach the two sides and add the start of a back brace. If you add glue to each joint as you screw them together it will add significant strength here.

I unfortunately forgot this fact till I was completely done with the subframe. It meant I had to take the frame totally apart and start again. This time taking my time and doing it right.
Time to put on the seat. All you have to do it plank the seat till you are about 3/4 of the way to the back. Again, make sure you apply a layer of glue to the support before you nail.

To make the back rest, screw in a support beam between the two upright struts. If you don't screw it in totally and rest a test board on it you can twist the support beam till it is the correct angle. After attaching the first board at dead center on top, pinch the board with another seat board to make a tight fitting back.
Sorry I got in the groove of working at this point and forgot to take a photo when I finished the back.
Take a measuring tape and using a pinch clamp hold the end to the back support. If you sit in the chair and pull the tape as far front as you feel comfortable with it will give you a proper length for your arm rest. At this point I added some structural supports around the chair. There is a set of beams under the seat and another set at the front of the arm rests to add some strength for when you get up.